
About Us
Welcome to Omni Products, New Zealand’s trusted partner in gardening and trade solutions. With a proud legacy dating back to 1988, Omni Products has grown from its beginnings as a glove supplier to become a leading wholesaler of premium gardening, outdoor living, and trade products, serving both retail and professional markets across the country.
Our Commitment
At Omni Products, quality is at the heart of everything we do. We meticulously source and manufacture our products to ensure they meet the highest standards, so you can trust that your garden and trade work are in good hands. Customer satisfaction is our top priority, and our dedicated team is always ready to provide expert advice, product recommendations, and after-sales support to ensure a seamless experience from start to finish.
What We Offer
-

Garden Tools
A comprehensive range of gardening tools and accessories, including our highly acclaimed Ash Handle Range and the premium DeWit collection, backed by a lifetime guarantee.
-

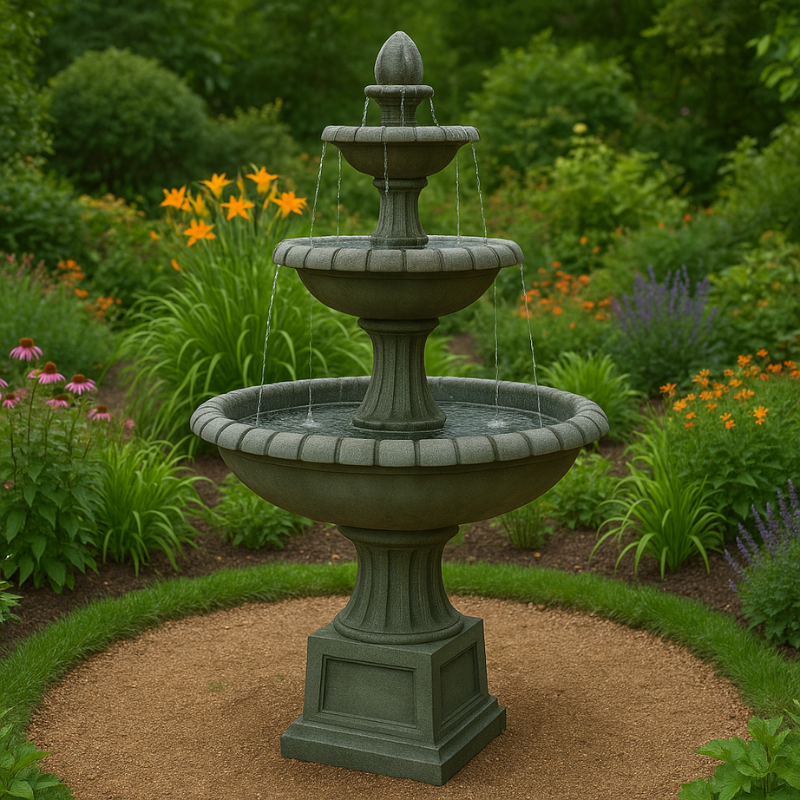
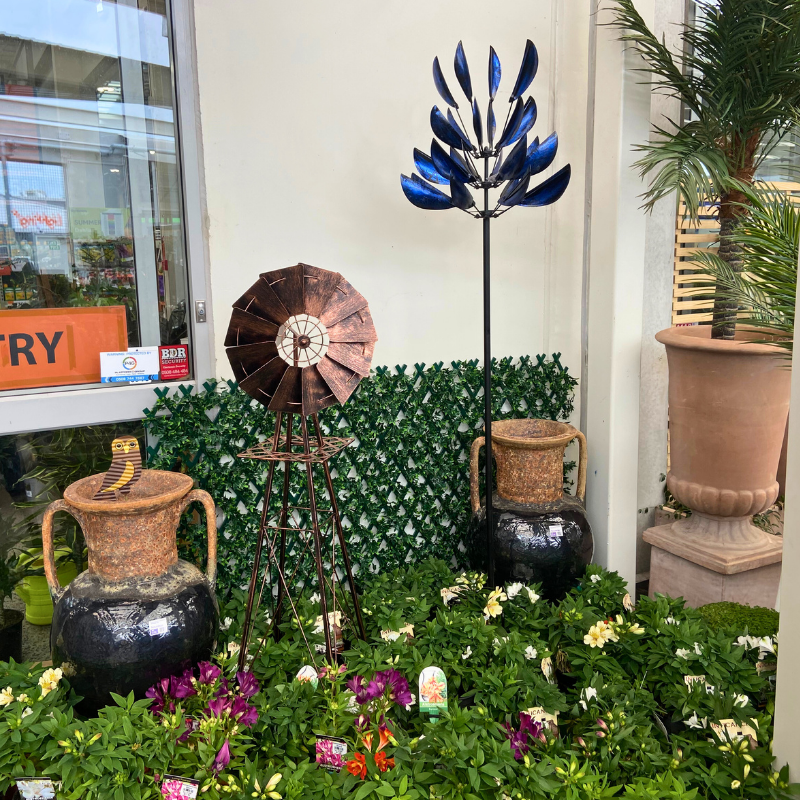
Outdoor Living
Outdoor living products such as garden statues, bird baths, feeders, wind sculptures, and water features to help you create your perfect outdoor oasis.
-

Trade Solutions
Innovative trade and construction solutions, including the groundbreaking STANDIT™ system, designed to enhance safety and efficiency on building projects.
-

Trusted Brands
Partnerships with international brands like GF Garden, and local prestige brands like Resene. Bringing the latest in outdoor living solutions to New Zealand gardeners and professionals.


Our Journey
At Omni Products, quality is at the heart of everything we do. We meticulously source and manufacture our products to ensure they meet the highest standards, so you can trust that your garden and trade work are in good hands. Customer satisfaction is our top priority, and our dedicated team is always ready to provide expert advice, product recommendations, and after-sales support to ensure a seamless experience from start to finish.